
How to Seal Outdoor Surfaces: A Homeowner's Guide
TL;DR:
- Proper surface preparation, including cleaning, drying, and repairing, is essential for successful outdoor sealing. Choosing the appropriate sealant type based on material and climate ensures durability, with application in thin, even coats below recommended temperatures. Routine inspections and timely reapplication extend the life of sealed surfaces while preventing common failure issues.
Sealing outdoor surfaces is the process of applying protective coatings to materials like concrete, stone, wood, or pavers to block moisture, resist staining, and extend the life of your property's exterior. Done correctly, it preserves color, prevents cracking, and saves you thousands in premature repairs. This guide covers the full process: surface preparation, sealant selection, step-by-step application, and ongoing maintenance. You'll also find specific product references, timing guidance, and expert tips drawn from real-world sealing practice. Whether you're sealing outdoor patios, driveways, or wood decks, the approach starts the same way: preparation before product.
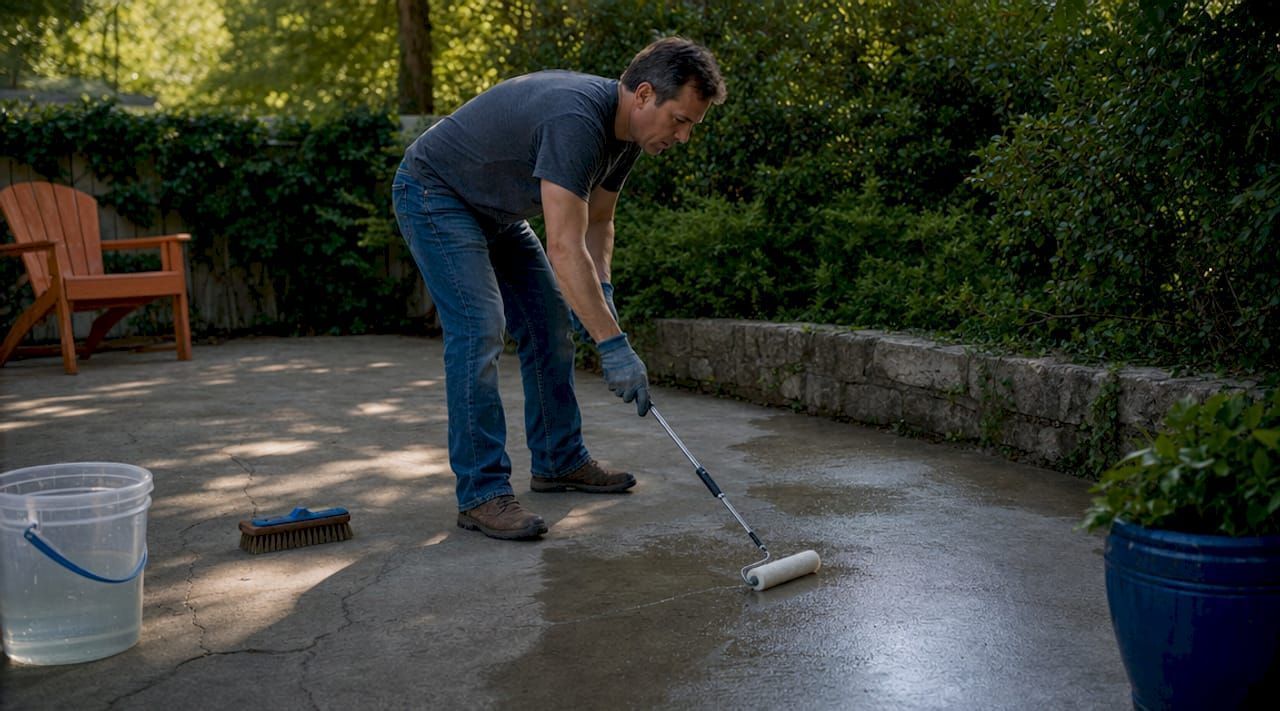
How to seal outdoor surfaces: preparation is everything
The single biggest reason sealants fail is not the product. It's the surface underneath. Applying sealer over a dirty, damp, or cracked surface traps contaminants and moisture, which causes peeling, whitening, and adhesion failure within months. Getting the prep right accounts for the majority of sealing success.
Start with a thorough clean. Concrete and pavers respond well to pressure washing at 2,500 to 3,000 PSI. Natural stone and wood require gentler treatment. A pH-neutral cleaner protects porous surfaces from etching during the cleaning phase. Remove all oil stains, mold, algae, and efflorescence before you consider applying any sealer.
Drying time is non-negotiable. Most practical guides recommend cleaning and drying surfaces at least 24 to 48 hours before applying sealer, ideally on a dry, mild day around 70°F with no rain in the forecast. Sealing wet or dirty surfaces is one of the most frequent causes of sealant failure and premature wear. That means you need to check the weather forecast, not just the current conditions.
Test for moisture before you seal concrete. Tape a 2×2 foot plastic sheet flat against the surface and leave it for 24 hours. If condensation forms underneath, the surface is not ready to seal. This simple test prevents the most common adhesion failures on new or recently washed concrete slabs.
Repair before you seal. Fill cracks wider than 1/8 inch with a polyurethane or epoxy filler. Strip old sealant that is peeling or flaking using a chemical stripper or mechanical grinder. Sealing over failing old coatings locks in the problem instead of solving it.
Pro Tip: Schedule your sealing project for mid-morning on a day with low humidity. Early morning dew can leave residual moisture on surfaces that look dry to the eye, and afternoon heat can cause sealer to dry too fast and bubble.
| Prep step | Why it matters |
|---|---|
| Pressure wash or clean | Removes contaminants that block sealer adhesion |
| 24 to 48 hour dry time | Prevents moisture from being trapped under the sealer |
| Plastic sheet moisture test | Confirms concrete is dry enough for adhesion |
| Fill cracks and repair damage | Prevents water entry points under the new sealer |
| Strip old failing sealant | Ensures new sealer bonds to the substrate, not old coating |
What type of sealant should you use for different surfaces?
Choosing the wrong sealant for your surface type or climate is the second most common sealing mistake. The industry divides sealants into two primary categories: penetrating sealers and film-forming sealers. Each serves a different purpose, and the right choice depends on your surface material, local weather, and the finish you want.
Penetrating sealers absorb into the substrate and reduce water penetration while allowing the surface to breathe. They leave no visible film, which makes them ideal for natural stone, flagstone, and pavers in wet or freeze-thaw climates. Film-forming sealers sit on top of the surface and create a protective layer. They offer a glossy or satin finish and are easier to clean, but they can trap moisture if applied incorrectly and may need stripping before reapplication.
For concrete driveways and patios, acrylic sealers are the most common choice. They offer UV resistance, are easy to apply, and come in both water-based and solvent-based formulas. Polyurethane sealers provide harder, more abrasion-resistant protection and work well on high-traffic areas. Silicone-based sealants, like GE Concrete Silicone Sealant, are best reserved for joints and cracks rather than broad surface coverage.
For porous natural stone like travertine, slate, or limestone, a penetrating silane or siloxane sealer is the professional standard. These products repel water at the molecular level without altering the stone's appearance. Sealers with UV inhibitors protect outdoor surfaces from sun damage and help maintain color longer. This matters especially for colored concrete and sandstone, which fade noticeably without UV protection.
For wood decks, penetrating oil-based sealers or water-repellent preservatives work best. They feed the wood while blocking moisture. Film-forming deck stains can peel as wood expands and contracts seasonally, so penetrating products generally outlast them on horizontal surfaces exposed to rain and sun.
Pro Tip: In climates with hard winters, always choose a penetrating sealer for pavers and stone. Film-forming sealers can trap water that freezes and expands beneath the coating, causing spalling and delamination within one or two freeze-thaw cycles.
| Sealant type | Best surface | Finish | Reapplication |
|---|---|---|---|
| Acrylic sealer | Concrete patios, driveways | Gloss or matte | Every 1 to 3 years |
| Penetrating silane/siloxane | Natural stone, pavers | Natural, invisible | Every 3 to 5 years |
| Polyurethane sealer | High-traffic concrete | Gloss | Every 2 to 4 years |
| Oil-based penetrating sealer | Wood decks | Natural | Every 1 to 2 years |
| Silicone sealant | Joints and cracks | Clear bead | As needed |
For a deeper look at choosing the right stone sealer for residential outdoor flooring, Oceancarestore has a detailed guide covering penetrating versus film-forming options by surface type.
Step-by-step guide to applying sealer on outdoor surfaces
Once your surface is clean, dry, and repaired, application technique determines whether the sealer lasts two years or five. These steps apply to most outdoor surface sealing projects, with notes for specific materials.
- Gather your tools. For large flat surfaces like driveways and patios, a pump sprayer or paint roller with a 3/8-inch nap cover works well. For wood decks, a brush or pad applicator gives better penetration into grain. For joints and cracks, a caulk gun loaded with the appropriate sealant is the correct tool.
- Apply the first coat thin and even. Applying sealant in thin, even coats with proper curing times between layers improves durability and prevents peeling and bubbling. Work in sections of about 10 square feet at a time to maintain a wet edge and avoid lap marks.
- Seal joints and cracks separately. For concrete masonry, joint sealants must be flexible and installed with proper bead size to accommodate building movement. Use a backer rod in joints deeper than 1/2 inch before applying silicone or polyurethane sealant. This prevents the sealant from bonding at the bottom of the joint, which causes tearing under movement.
- Allow full cure time before the second coat. Most acrylic sealers require two to four hours between coats in dry conditions. Polyurethane products often need 12 to 24 hours. Read the product label. Rushing this step is one of the most common application errors.
- Apply a second thin coat perpendicular to the first. Crossing the application direction fills any gaps left by the first pass and creates more uniform coverage. Two thin coats always outperform one thick coat in adhesion and longevity.
- Protect the sealed area from foot traffic for 24 hours and vehicle traffic for 72 hours. Full chemical cure takes longer than surface dry time. Driving on a freshly sealed driveway before full cure leaves tire marks and can deform the coating.
Pro Tip: Never apply sealer in direct sunlight on a hot surface. Temperatures above 90°F cause solvent-based sealers to flash off too quickly, leaving a milky or uneven finish. Aim for surface temperatures between 50°F and 85°F.
For paver patios specifically, sealing is most effective when combined with joint stabilization using polymeric sand. The polymeric sand needs a full 24 to 48 hour curing window after water activation before you apply any sealer. Sealing too early traps moisture in the joints and undermines both the sand and the sealer.
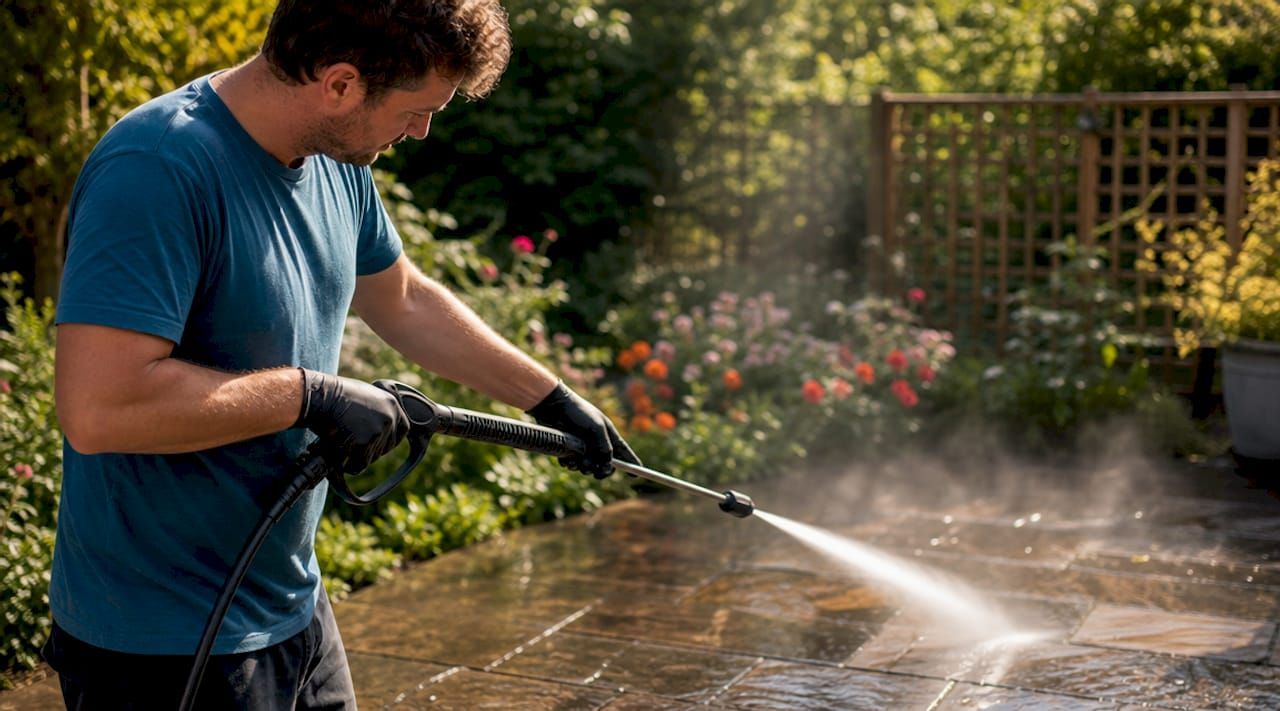
How to maintain sealed surfaces and fix common problems
A sealed surface is not a maintenance-free surface. Regular cleaning and periodic inspection keep the sealer performing at full capacity and extend the time between reapplication cycles.
Routine maintenance for sealed outdoor surfaces includes:
- Sweep or rinse regularly. Dirt and organic debris hold moisture against the surface and accelerate sealer breakdown. A weekly rinse or sweep removes the abrasive grit that wears down film-forming coatings.
- Use pH-neutral cleaners only. Acidic or alkaline cleaners degrade sealers over time. Products like a pH-neutral tile and stone cleaner preserve the sealer while removing surface grime without etching the substrate.
- Inspect annually. Check for peeling, cracking, whitening, or water absorption. Pour a small amount of water on the surface. If it soaks in rather than beading, the sealer has worn through and reapplication is due.
- Reapply on schedule. Acrylic sealers on driveways typically need reapplication every one to three years depending on traffic and UV exposure. Penetrating sealers on stone last three to five years. Wood deck sealers in wet climates may need annual attention.
Signs that a sealer has failed include visible peeling or flaking, a white haze (called blushing) caused by trapped moisture, and dark staining that penetrates the surface. Blushing is particularly common when sealer was applied to a damp surface or during high humidity. In most cases, you need to strip the failing sealer completely before reapplying. Sealing over a failed coating rarely produces a lasting result.
Pro Tip: Keep a record of when you sealed each surface and which product you used. When it's time to reseal, using the same product family avoids compatibility issues between old and new coatings.
For guidance on common sealing problems and how to diagnose them, Oceancarestore covers the most frequent failure modes for stone and masonry sealers.
Key takeaways
Sealing outdoor surfaces requires clean, dry, repaired substrates, the right sealant for the material and climate, and thin even coats applied at the correct temperature.
| Point | Details |
|---|---|
| Prep determines success | Clean and dry surfaces 24 to 48 hours before sealing to prevent adhesion failure. |
| Match sealant to surface | Use penetrating sealers for stone and pavers; use acrylic or polyurethane for concrete. |
| Apply thin, multiple coats | Two thin coats outperform one thick coat in durability and visual consistency. |
| Seal joints separately | Use flexible sealant with backer rods in cracks and joints to accommodate movement. |
| Maintain on a schedule | Inspect annually and reseal when water stops beading on the surface. |
What I've learned after years of watching sealing projects succeed and fail
The most expensive sealing mistakes I've seen come from impatience. A homeowner pressure washes their patio on a Saturday morning and wants to seal it by afternoon. The surface looks dry. It isn't. Two months later, the sealer is peeling in sheets and the job has to be redone from scratch.
The second most common failure is product mismatch. Someone buys a glossy film-forming sealer because it looks impressive on the shelf, then applies it to a flagstone patio in a climate that gets hard freezes. By spring, the coating has lifted in patches and the stone underneath has spalled. A penetrating silane sealer would have been invisible, breathable, and still performing five years later.
What I find genuinely underappreciated is how much climate shapes the right answer. The best approach to sealing in Phoenix looks nothing like the right approach in Minneapolis. UV load, freeze-thaw cycles, and annual rainfall all change which product category you should reach for first.
My honest recommendation: spend 80% of your time on preparation and product selection, and the application itself becomes straightforward. The sealer does its job when the surface underneath is ready to receive it. Patience during prep is the only thing that separates a two-year result from a five-year result.
Protect your outdoor surfaces with Oceancarestore
Oceancarestore carries a focused range of eco-friendly sealers and cleaners built specifically for stone, concrete, grout, and tile. The High Performance Penetrating Sealer is a top choice for homeowners sealing outdoor masonry, pavers, and natural stone. It delivers deep substrate protection without altering surface appearance, and it's formulated with low VOCs for safe use around family and pets. For surface prep and ongoing maintenance, the pH Neutral Tile & Stone Cleaner removes grime without degrading your sealer or etching sensitive stone. Both products are plant-based and biodegradable, which matters when you're working on surfaces near garden beds, pools, or drainage areas.
FAQ
How long should I wait before sealing after pressure washing?
Wait at least 24 to 48 hours after pressure washing before applying sealer. Use the plastic sheet moisture test on concrete to confirm the surface is fully dry before you start.
What is the best sealant for driveways?
Acrylic or polyurethane sealers are the standard choice for concrete driveways. Acrylic sealers are easier to apply and reapply, while polyurethane offers harder protection for high-traffic areas.
How often do I need to reseal outdoor surfaces?
Resealing frequency depends on the product and surface. Acrylic sealers on concrete typically last one to three years. Penetrating sealers on natural stone last three to five years. Reseal when water no longer beads on the surface.
Can I seal pavers right after installing polymeric sand?
No. Polymeric sand requires 24 to 48 hours of curing after water activation before you apply sealer. Sealing too early traps moisture in the joints and reduces the effectiveness of both the sand and the sealer.
What causes sealer to turn white or hazy after application?
White haze, called blushing, occurs when sealer is applied to a damp surface or during high humidity. It means moisture was trapped under the coating. The fix is to strip the sealer and reapply under proper dry conditions.

