
Tile Grout Recoloring Process: A Complete DIY Guide
TL;DR:
- Tile grout recoloring involves applying a colorant to restore or change grout color without removal. The process requires four steps: deep cleaning, repairing joints, applying the colorant, and waiting 10–15 days for full curing. Proper preparation and patience are essential for durable, even results.
Tile grout recoloring is defined as the process of applying a specialized colorant or stain directly to existing grout lines to change or restore their color without removing the grout. The industry term for this technique is grout staining or grout colorant application, and it covers four essential phases: deep cleaning, repairing damaged joints, applying the colorant, and curing. Done correctly, the tile grout recoloring process delivers a fresh, uniform appearance and adds a protective layer that resists future staining. Skipping or rushing any phase produces peeling, uneven color, and early failure.
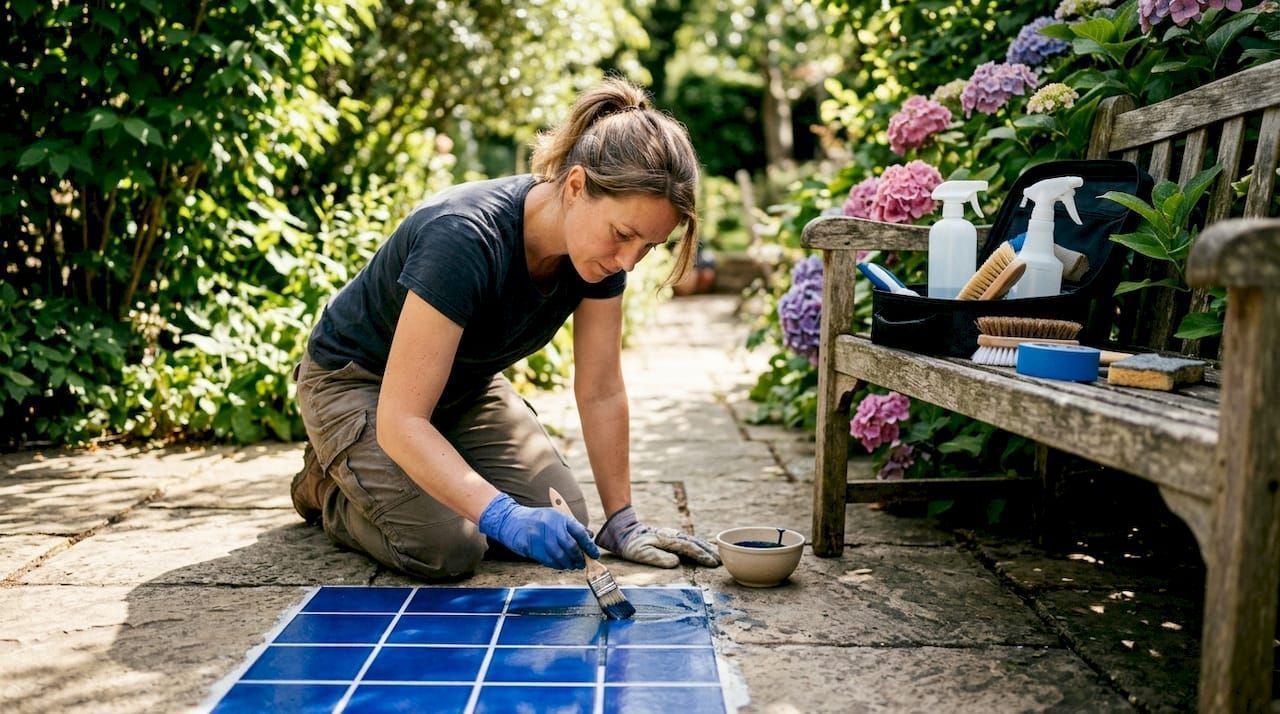
What are the essential steps in the tile grout recoloring process?
The grout restoration process follows four steps in a fixed order. Each step builds on the last, and reversing or combining them causes problems.
Step 1: Deep clean and strip old sealers
Grout must be completely free of dirt, soap scum, mold, and any existing sealer before colorant touches it. Household cleaners leave residues that block colorant adhesion, causing peeling or patchy color. Use a grout-specific cleaner and a stiff nylon brush. Rinse thoroughly and let the surface dry completely before moving forward.
Step 2: Repair damaged grout joints
Cracked or crumbling grout will not hold colorant evenly. Rake out loose material with a grout saw or oscillating tool, then fill gaps with fresh grout that matches the original joint width. Let repairs cure fully before applying any colorant. Applying color over unstable grout wastes product and shortens results.
Step 3: Apply the grout colorant
Grout colorants are pigmented sealers that penetrate and coat the grout surface. Apply with a small brush in a back-and-forth motion, working in sections of about 6 inches at a time. Wipe excess off the tile face immediately with a damp cloth. Thin, uniform coats prevent streaking and buildup. Allow each coat to dry before adding another.
Step 4: Cure the colorant
Surface dryness after 24 hours does not mean the colorant has cured. Full cure takes 10–15 days before the grout can handle scrubbing or heavy foot traffic. Protect the area from water and cleaning agents during this window.
Pro Tip: Apply painter's tape along the grout lines on complex tile patterns before you start. It speeds up cleanup and keeps colorant off textured tile surfaces.
How to prepare tile grout properly before recoloring
Preparation is the single biggest factor in how long your recoloring results last. Colorant applied to dirty or sealed grout will peel within weeks.
The cleaning phase has two goals: remove all surface grime and eliminate any coating that blocks absorption. A mix of baking soda and hydrogen peroxide works well for removing grime from grout without damaging the surface. Avoid harsh acids, which can erode grout edges and leave a chalky residue that interferes with colorant bonding.
Key preparation steps:
- Scrub with a grout-specific cleaner. Generic multipurpose sprays leave surfactant residue. Use a product formulated for grout prep.
- Test for old sealer. Drop a few beads of water on the grout. If they bead up, a sealer is present and must be stripped before recoloring.
- Strip existing coatings. A dedicated sealer stripper or a deep-clean grout method using residue-free agents removes old product without damaging the joint.
- Rinse twice. One rinse is rarely enough. A second rinse removes loosened residue that the first pass misses.
- Dry completely. Moisture trapped in grout prevents colorant penetration. Allow at least 24 hours of drying time in a ventilated space.
Pro Tip: Run a white cloth along the cleaned grout line. If it picks up color or residue, the surface is not ready. Keep cleaning until the cloth comes away clean.
Professional floor cleaning services often use alkaline degreasers and steam extraction for this prep phase. For a DIY project, a stiff nylon brush and the right cleaner get the same result with more time and effort.
What are the best practices for applying grout colorants?
Color application is where most DIY grout color change projects go wrong. Rushing the application or skipping the test step produces results that look worse than the original stained grout.
Follow these practices for even, lasting coverage:
- Test in a hidden area first. Existing grout color, tile porosity, and lighting all affect the final shade. Test on an inconspicuous spot and let it cure for 24 hours before committing to the full surface.
- Apply thin coats. Thick application does not speed up the process. It creates buildup at grout edges and uneven sheen. Two thin coats outperform one heavy coat every time.
- Work in small sections. Six-inch sections give you control over drying time and application quality. Larger sections dry unevenly before you can wipe the excess.
- Wipe excess immediately. Colorant left on tile faces dries quickly and bonds to the surface. Keep a damp cloth in your non-dominant hand and wipe as you go.
- Allow full drying between coats. Applying a second coat over a wet first coat traps moisture and causes bubbling. Wait the full drying time listed on the product label.
- Going from dark to light grout requires extra coats. Multiple coatings are required when switching from a dark grout to a lighter shade. Three or four thin coats are normal for this color change direction.
Grout colorants often combine pigment and sealer in a single product. That means each coat adds both color and a layer of stain protection. Applying a separate grout sealer after the colorant fully cures extends that protection further, especially in high-traffic or wet areas like showers and kitchen floors.
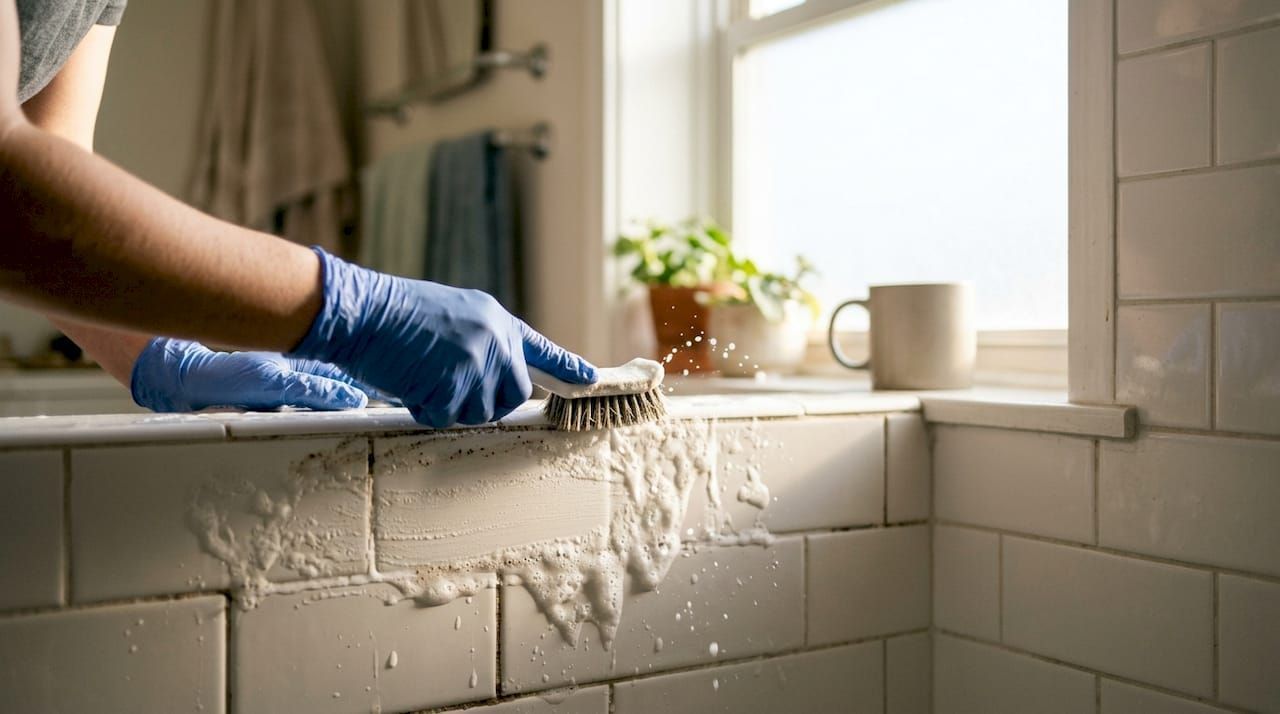
What is the curing process for grout recoloring and why is patience critical?
Curing is the phase homeowners most often cut short, and it is the most common reason recoloring fails within the first month.
The surface of a grout colorant feels dry within a few hours. That surface dryness is not curing. The polymer compounds in the colorant need time to fully cross-link and harden into a durable, stain-resistant layer. Premature exposure to water or cleaning agents breaks down this process before it completes, leaving soft, easily scratched color that washes away.
| Curing stage | Timeline | What to avoid |
|---|---|---|
| Surface dry | 24–48 hours | Foot traffic, wet mopping |
| Light use | 3–5 days | Scrubbing, cleaning products |
| Full cure | 10–15 days | Heavy use, steam cleaning |
The 10–15 day full cure window applies to most water-based grout colorants under normal indoor conditions. High humidity or low temperatures extend that timeline. Check the product label for specific guidance.
Pro Tip: Mark the cure date on your calendar the day you finish the final coat. Treat the surface as off-limits for scrubbing until that date passes. One premature cleaning session can undo hours of work.
A step-by-step grout cleaning guide helps homeowners understand how preparation and curing connect. Surfaces that were cleaned properly before recoloring tend to cure more evenly because the colorant penetrates uniformly rather than pooling over residue patches.
Key Takeaways
The tile grout recoloring process requires four sequential phases: deep cleaning, joint repair, colorant application, and a full 10–15 day cure before the surface handles scrubbing or heavy use.
| Point | Details |
|---|---|
| Clean before everything | Strip old sealers and residue completely or colorant will peel within weeks. |
| Repair joints first | Fill cracked or crumbling grout before applying any colorant for even coverage. |
| Apply thin, uniform coats | Work in 6-inch sections and wipe excess immediately to prevent streaking. |
| Test color before committing | Apply colorant to a hidden area and cure for 24 hours to confirm the final shade. |
| Respect the cure window | Full polymer cure takes 10–15 days; premature cleaning causes early failure. |
Why I think most DIYers underestimate this project
Most homeowners treat grout recoloring as a painting job. It is not. It is closer to a surface restoration project, and the preparation phase deserves as much time as the application itself.
The single most common mistake I see is skipping the sealer strip test. Homeowners scrub the grout, it looks clean, and they apply colorant directly over an intact sealer. The colorant sits on top of the sealer rather than bonding to the grout, and it peels off in sheets within a few weeks. That failure is not a product problem. It is a prep problem.
The second mistake is treating the 24-hour dry time as the finish line. The surface feels solid, so homeowners mop it, scrub it, or let kids run across it in wet shoes. The colorant has not cured. It is still soft at the polymer level, and that early stress leaves marks that cannot be fixed without stripping and starting over.
My honest advice: if your grout is severely damaged, cracked across large sections, or has deep mold penetration, call a professional for the prep phase. Handle the colorant application yourself once the surface is properly restored. That split approach saves money and produces better results than a fully DIY job on a surface that was not ready.
Grout and stone sealers from Oceancarestore
Recoloring grout is only half the job. Protecting that fresh color with the right sealer determines how long your results last.
Oceancarestore carries a range of stone and grout sealers formulated for residential surfaces including bathroom tile, kitchen backsplashes, and pool surrounds. The products are plant-based, low VOC, and acid-free, making them safe for sensitive surfaces and households with children or pets. Applying a quality sealer after the colorant fully cures adds a durable barrier against staining, moisture, and everyday wear. Browse the full selection at Oceancarestore to find the right protection for your tile project.
FAQ
What is grout recoloring and how does it work?
Grout recoloring is the process of applying a pigmented colorant or stain to existing grout lines to change or restore their color. The colorant penetrates the grout surface, bonds to it, and adds a protective layer without requiring grout removal.
How long does the grout recoloring process take?
The application itself takes a few hours for an average bathroom. Full curing, however, takes 10–15 days before the surface can handle scrubbing or heavy cleaning.
Can I change grout from dark to light with colorant?
Yes, but going from dark to light requires multiple thin coats. Several coatings are typically needed to fully cover a dark base color, so plan for extra drying time between applications.
How much does professional grout recoloring cost?
Professional recoloring costs range from $1 to $2.50 per square foot, with variations based on the product used and the skill of the applicator. Minimum service fees often apply for small areas.
Do I need to seal grout after recoloring?
Applying a separate sealer after the colorant cures extends stain resistance and durability. Many colorants include a sealer component, but an additional grout sealer layer is recommended for wet areas like showers and pool surrounds.

